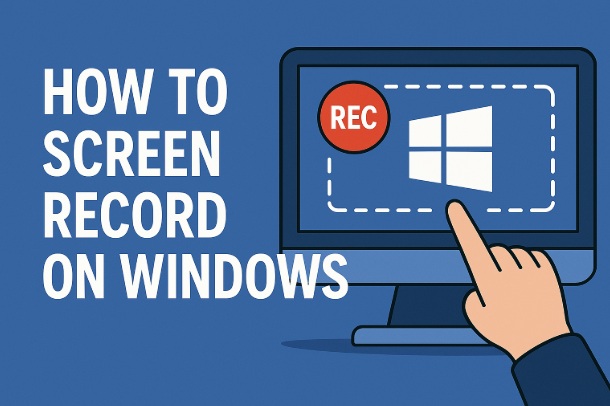
Screen recording is an incredibly useful skill—whether you’re creating a tutorial, capturing gameplay, saving a video call, or troubleshooting a tech issue. Windows offers builtin tools and thirdparty options to make this process simple and effective. In this guide, we’ll walk you through how to screen record on Windows using both native features and popular software, along with tips to get the best results. No matter your experience level, you’ll be recording your screen like a pro in no time!
Why Screen Record on Windows?
Before we dive in, here’s why you might want to record your screen:
Tutorials: Share stepbystep guides with friends, colleagues, or an audience.
Gaming: Capture epic moments to relive or share online.
Work: Record meetings or presentations for later review.
Support: Show tech issues to get help from support teams.
Let’s explore the best ways to do it on Windows!
Method 1: Using the BuiltIn Xbox Game Bar
Windows 10 and 11 come with a free, builtin tool called Xbox Game Bar, originally designed for gamers but perfect for general screen recording. Here’s how to use it:
1. Check Your System
Xbox Game Bar is available on Windows 10 (version 1809 or later) and Windows 11. To confirm it’s enabled:
Press Windows Key + G. If a small overlay appears, you’re good to go.
If not, go to Settings > Gaming > Xbox Game Bar and toggle it on.
2. Open Xbox Game Bar
Press Windows Key + G to launch the tool. You’ll see a few widgets, including “Capture,” “Audio,” and “Performance.”
3. Start Recording
In the Capture widget (a small box with a camera icon), click the Record button (a circle with a dot in the center).
Alternatively, press Windows Key + Alt + R to start recording instantly.
A small timer will appear in the corner, showing that recording is active.
4. Record Your Screen
Whatever is on your screen—whether it’s a video, app, or desktop—will be captured. Note: Xbox Game Bar records only one app window at a time, not the entire desktop (e.g., it won’t switch between apps midrecording).
5. Stop Recording
Click the Stop button on the floating timer, or press Windows Key + Alt + R again.
A notification will pop up saying, “Game clip recorded.”
6. Find Your Video
By default, recordings save to C:\Users\[YourUsername]\Videos\Captures in MP4 format.
Open the file to review your recording.
Pros: Free, no installation needed, simple to use.
Cons: Can’t record the desktop or File Explorer; limited customization.
Method 2: Using the Snipping Tool (Windows 11 Only)
Windows 11 introduced screen recording to the Snipping Tool, a lightweight option for quick captures. Here’s how:
1. Open Snipping Tool
Press Windows Key, type “Snipping Tool,” and hit Enter.
Ensure you’re on Windows 11 build 22H2 or later (check via Settings > System > About).
2. Switch to Screen Recording
In the Snipping Tool window, click the Record button (a video camera icon) next to the usual snip option.
3. Select Recording Area
Click New, then drag your mouse to select the portion of the screen you want to record (or choose full screen).
4. Start Recording
Click the Start button (a circle) in the toolbar that appears. A 3second countdown begins, giving you time to prepare.
5. Stop and Save
Click Stop (a square) when done.
Preview the recording, then click Save (floppy disk icon) to choose a location (e.g., your Videos folder) and name the file (saved as MP4).
Pros: Builtin, lightweight, lets you choose a specific area.
Cons: Windows 11 only; basic features.
Method 3: Using ThirdParty Software (OBS Studio)
For more advanced recording needs—like capturing the entire desktop, adding audio commentary, or streaming—OBS Studio is a free, powerful option. Here’s how to set it up:
1. Download and Install OBS Studio
Visit [obsproject.com](https://obsproject.com) and download the Windows version.
Run the installer and follow the prompts to install.
2. Set Up a Scene
Open OBS Studio. It’ll ask to run an autoconfiguration wizard—click Yes for a quick setup optimized for recording.
In the “Sources” box at the bottom, click the + button, select Display Capture, and click OK. This captures your entire screen.
3. Adjust Settings
Go to Settings > Output: Choose a recording path (e.g., your Videos folder) and format (MP4 is recommended).
Set quality to “High” for better visuals, or adjust based on your needs.
4. Start Recording
Click Start Recording in the bottomright corner. Minimize OBS if you don’t want it in the shot (it won’t record itself).
5. Stop and Save
Click Stop Recording when finished. Your video will save to the location you set.
Pros: Free, highly customizable, records everything.
Cons: Steeper learning curve; requires installation.
Method 4: Using Microsoft PowerPoint (Unexpected but Handy!)
If you have Microsoft Office, PowerPoint can double as a screen recorder. Here’s how:
1. Open PowerPoint
Launch PowerPoint and create a new presentation (or open an existing one).
2. Access Screen Recording
Go to the Insert tab, click Screen Recording (in the Media group).
3. Select Area
A control dock appears. Click Select Area, then drag to choose what to record (or press Windows Key + Shift + F for full screen).
4. Record
Click the Record button (red circle). A countdown starts, then it captures your screen and audio (if your mic is on).
Move your cursor to include pointer actions if desired.
5. Stop and Export
Press Windows Key + Shift + Q to stop, or click Stop in the dock.
The clip appears on your slide. Rightclick it, select Save Media As, and save it as an MP4.
Pros: No extra software needed if you have Office.
Cons: Clunky for long recordings; basic features.
Tips for Better Screen Recordings
Audio: Use a microphone for narration (enable it in Xbox Game Bar or OBS settings). Test sound levels first.
Resolution: Higher quality means larger files—balance based on your storage.
Practice: Do a test run to check framing and audio.
Editing: Trim or enhance recordings with free tools like Windows Photos or Clipchamp.
Troubleshooting
No Sound? Check your system audio settings and ensure the right input is selected in your recording tool.
Laggy Video? Lower the resolution or frame rate in settings (e.g., OBS).
Xbox Game Bar Won’t Open? Update Windows or reinstall it via Settings > Apps.
Final Thoughts
Screen recording on Windows is easier than ever, whether you stick with builtin tools like Xbox Game Bar and Snipping Tool or opt for a powerhouse like OBS Studio. Each method suits different needs—quick captures, full desktop recordings, or professionalgrade projects. Pick the one that fits your goals, and start capturing your screen today!
I am an extensive connoisseur of windows problem-solving techniques and everyday tech tips and tricks.
RELATED POSTS
View all