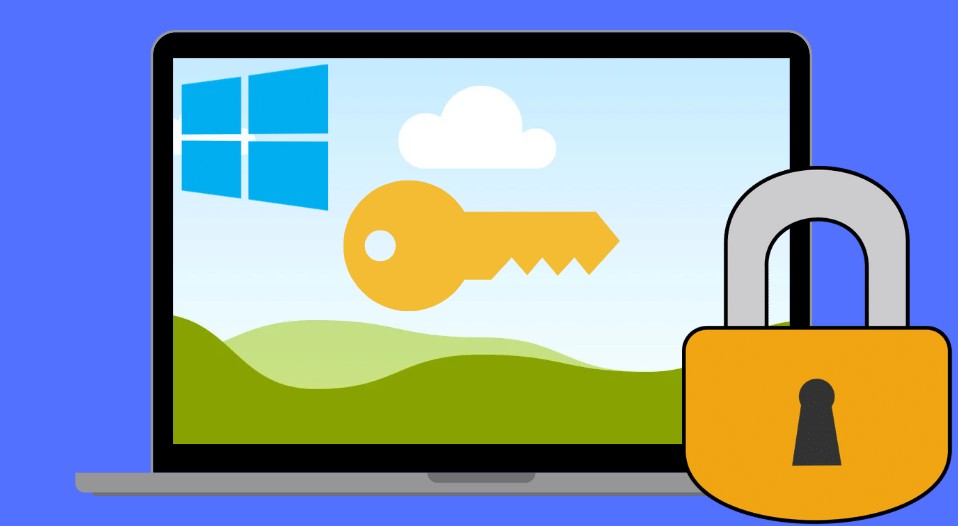
Everyone needs a secure laptop or PC for work, so Microsoft introduced device encryption in Windows 10 and 11 PCs.
In device encryption, your Windows device’s data gets encrypted and only gets readable when decrypted by the same mechanism. So, if your PC gets stolen by someone, they won’t get your data stored on the PC.
But this security feature comes with a cost. A study shows that Microsoft device encryption will reduce your Windows PC performance by 20% to 30%. This means that your SSD storage drive will perform slower if encryption and decryption are happening on it.
However, Microsoft does not make a statement about this, but many third-party institutions have conducted their own experiments and verified the claim.
The impact of Windows encryption is only on the SSD and CPU because both work continuously in the background to encrypt and decrypt data so that the PC works normally.
It is good to turn off device encryption in Windows
It depends on the user whether or not they need to turn on device encryption on their Windows device. Our recommendation is to turn off device encryption if you use your Windows device at home and have low-power hardware. You should see some significant performance improvements.
If you work on your PC for business or any other type of work where data is crucial, you should not turn off device encryption, as it protects your sensitive data from being stolen.
How to turn on/off pc encryption
Here’s how to turn on or off encryption in Windows 10 and 11 using BitLocker, the built-in encryption tool. Note that BitLocker is only available in Pro, Enterprise, or Education editions—not Home. If you’re on Home, let me know, and I’ll suggest alternatives.
Turn On BitLocker (Windows 10/11)
Open BitLocker Settings:Press Windows Key + S, type “Manage BitLocker,” and press Enter.
Or go to Control Panel > System and Security > BitLocker Drive Encryption.
Enable Encryption:Locate your drive (usually C:), and click “Turn on BitLocker.”
Choose how to unlock the drive:
Password: Set a strong one.
Smart card: If you have one (less common).
Save the recovery key:
Options include saving to a file, printing it, or (in some cases) linking to a Microsoft account.
Store this safely—you’ll need it if you forget the password or lose access.
Select encryption scope:
“Encrypt used disk space only” (faster) or “Encrypt entire drive” (more secure).
Pick encryption mode (newer systems default to XTS-AES).
Click “Start Encrypting.” The process time depends on drive size and data.
Wait: Encryption runs in the background; you can use your PC during this.
Turn Off BitLocker (Windows 10/11)
Open BitLocker Settings:
Same as above: Search “Manage BitLocker” or navigate via Control Panel.
Disable Encryption:
Find the encrypted drive (e.g., C:), and click “Turn off BitLocker.”
Confirm when prompted. Decryption will start and may take a while (similar to encryption time).
Verify:
Once finished, the drive status will show “BitLocker off” in the settings.
Additional Notes
Admin Rights: You need administrator privileges to manage BitLocker.
TPM (Trusted Platform Module): If your PC has a TPM chip (common in modern devices), BitLocker uses it by default for extra security. Without TPM, you’ll need a password or USB key.
Windows 10 vs. 11: The process is identical; only the UI differs slightly (e.g., rounded corners in Windows 11).
Home Edition: If you’re on Windows 10/11 Home, BitLocker isn’t available. You’d need third-party tools like VeraCrypt—want steps for that instead?
I am an extensive connoisseur of windows problem-solving techniques and everyday tech tips and tricks.
RELATED POSTS
View all